Last Updated on January 23, 2013 by Leyla Kazim
How often does a well meaning piece of fruit, offering the promise of good intentions on a Monday get left by the side of your computer at work, slowly degrading over the course of the week to a pathetic shadow of its former glory by Friday? This happens a lot for me.
I’m a grazer. I like to constantly pick at food and I have usually consumed at least one thing edible most hours of the working day. A whole piece of fruit doesn’t really fit this criteria – I may just want a bite of apple for now. Its unspoken expectation for me to consume the whole thing in one go is not something I may necessarily want to commit to. And if I don’t, it starts to turn the familiar brown as it reacts with the air. I’m not going to eat it after that. I could of course throw back to my childhood years and cut up a bunch of fruit into bite size pieces. And despite how old you are, this always seems to make it easier to eat – it’s actually a good option.
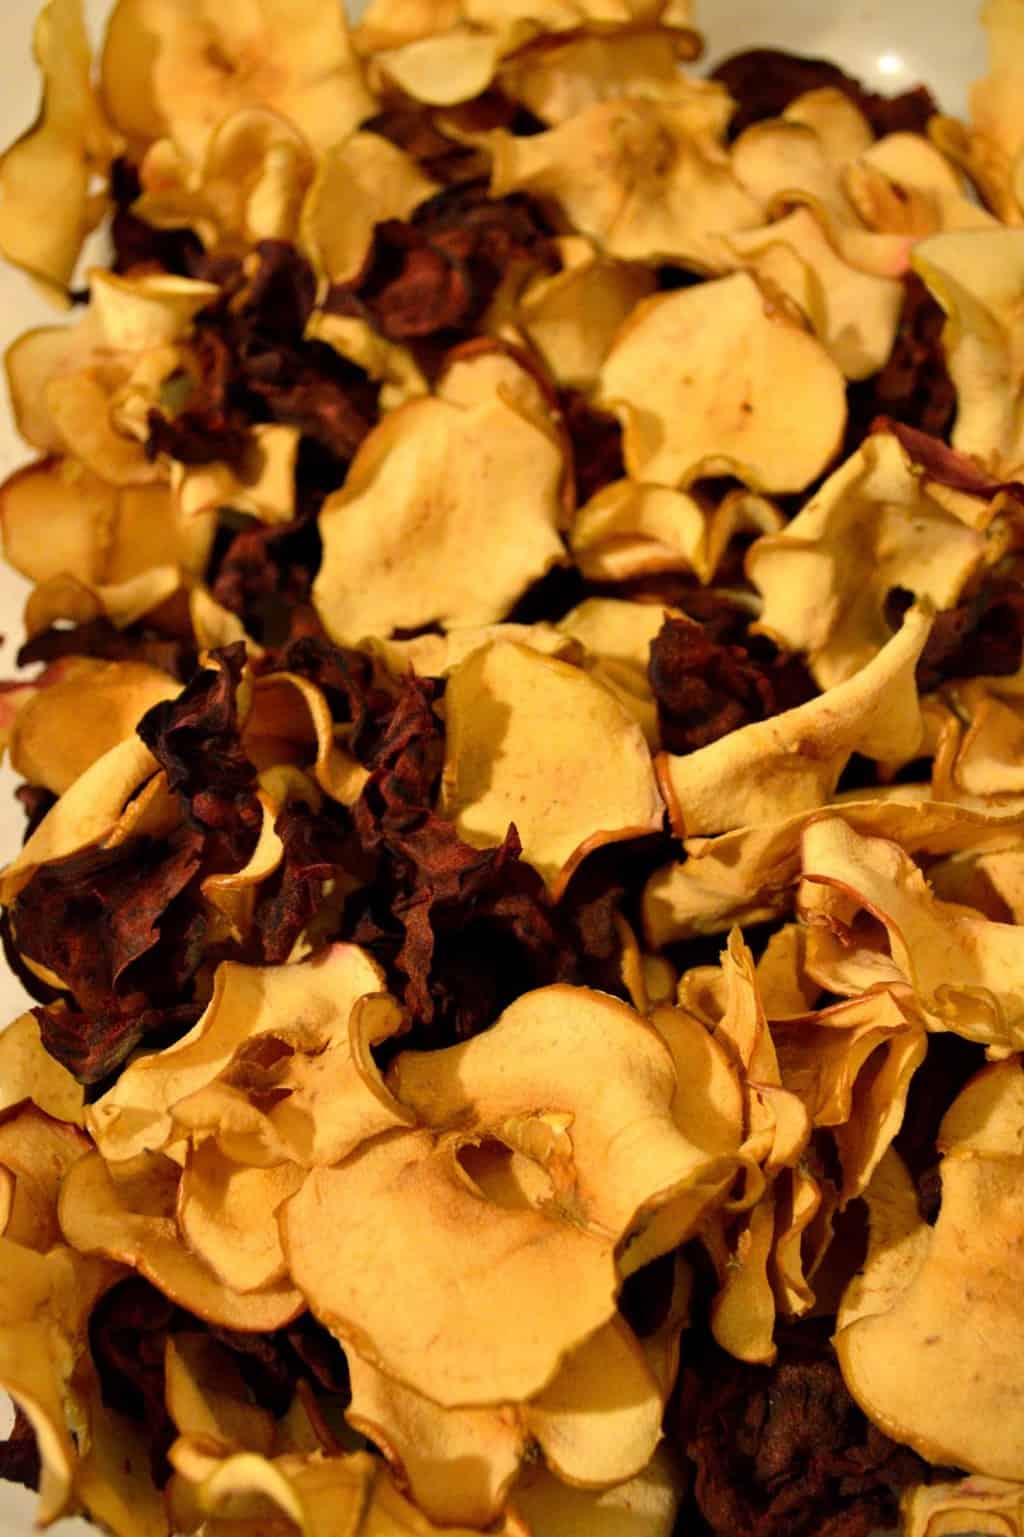
I’ve discovered a different way to consume the fruit and veg I want to eat over the course of the day – turn them into crisps. Packets of vegetable crisps available in the shops are nothing new. But they are high in fat, more often than not fried in oil so not exactly the healthy option. It is in fact very possible and quite easy to replicate these crispy crunchy bite-sized pieces of goodness at home, and without the need for any oil.
These are an excellent alternative to taking whole pieces of fruit to work – I guarantee you’ll actually eat these. They’re also a great way to consume veg that you would usually not on a daily basis – like beetroot for example.
Fruit n’ Veg Crisps
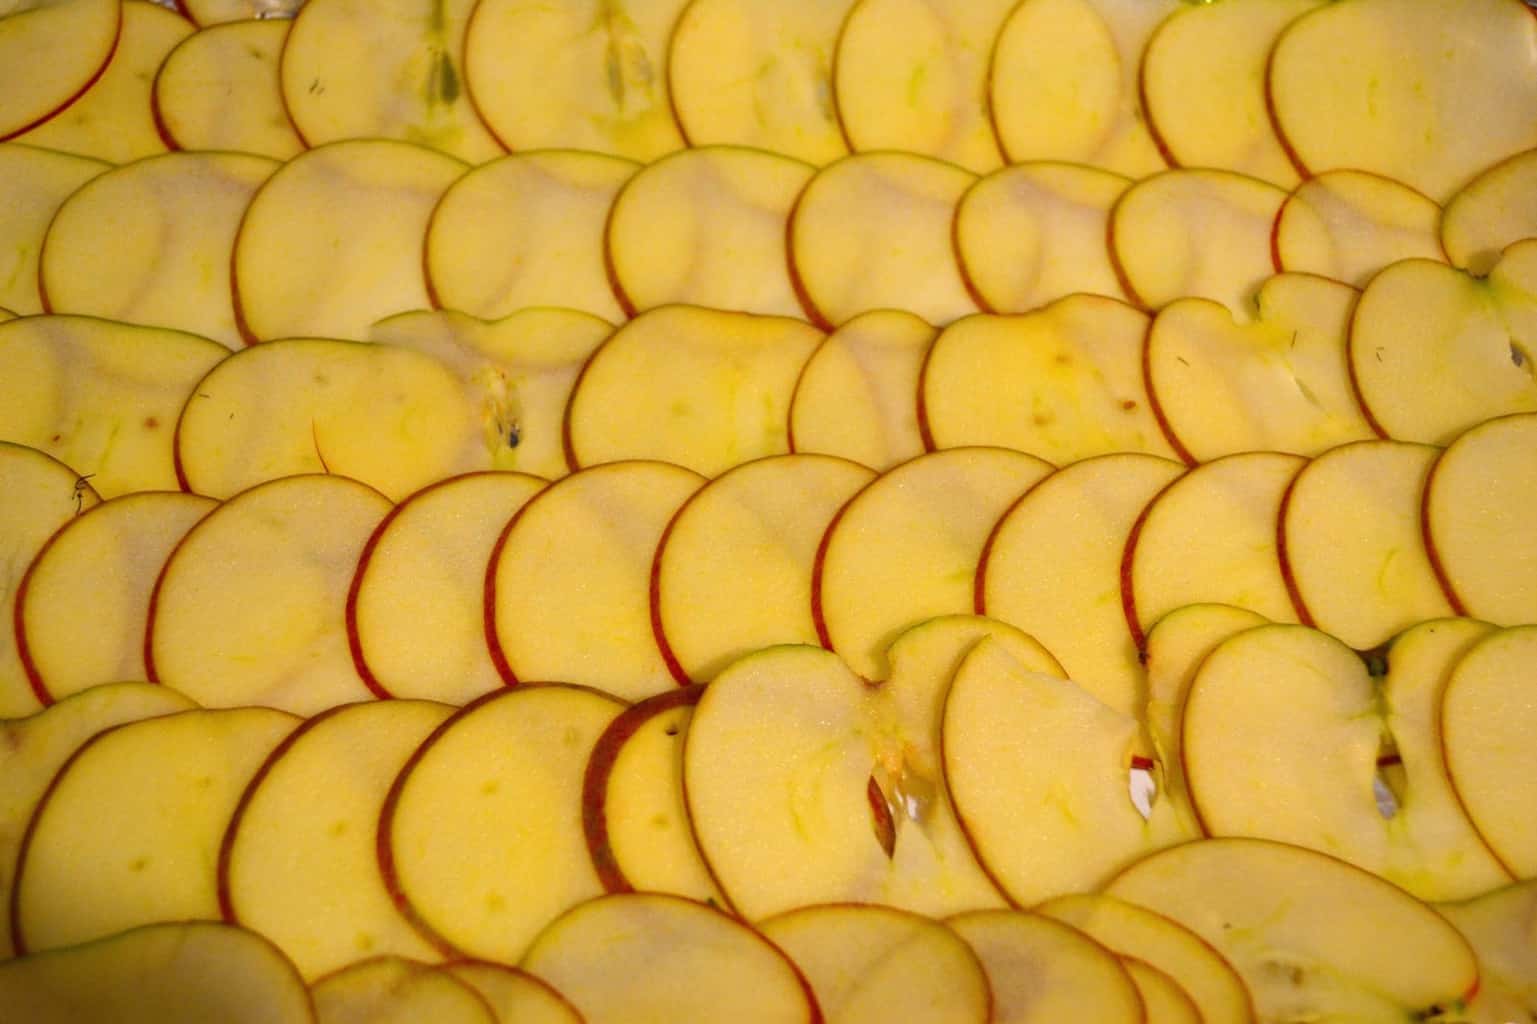
You want one piece of each type of fruit or veg for every day you are making these for. For example, if you’re making these snacks for three days, take three apples and three beetroot. Get the biggest beetroot you can find as they’ll provide bigger individual crisps. And they’re all the ingredients you will need.
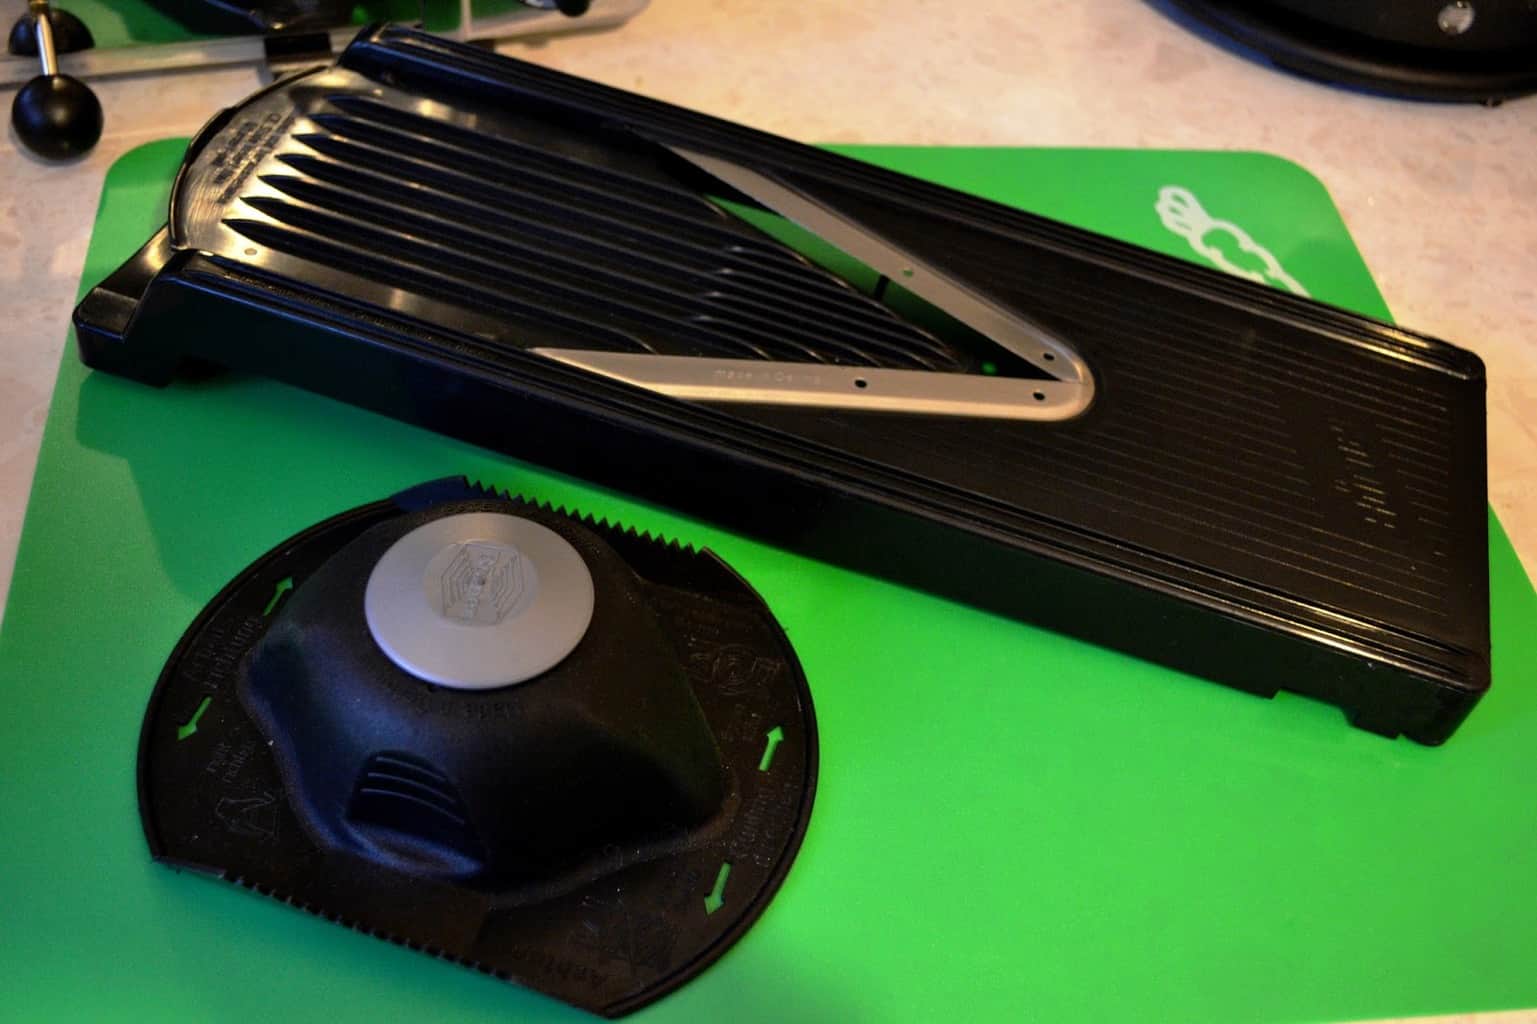
The other thing you will need and is well worth investing in is a V-slicer, something like this. They will slice your fruit and veg into uniform wafer thin slices in no time at all, quite difficult and time consuming to achieve without one. They have additional attachments which dice and also julienne your ingredients – great for making coleslaw or when julienne vegetables is required.
Preheat the oven to about 100C (fan).
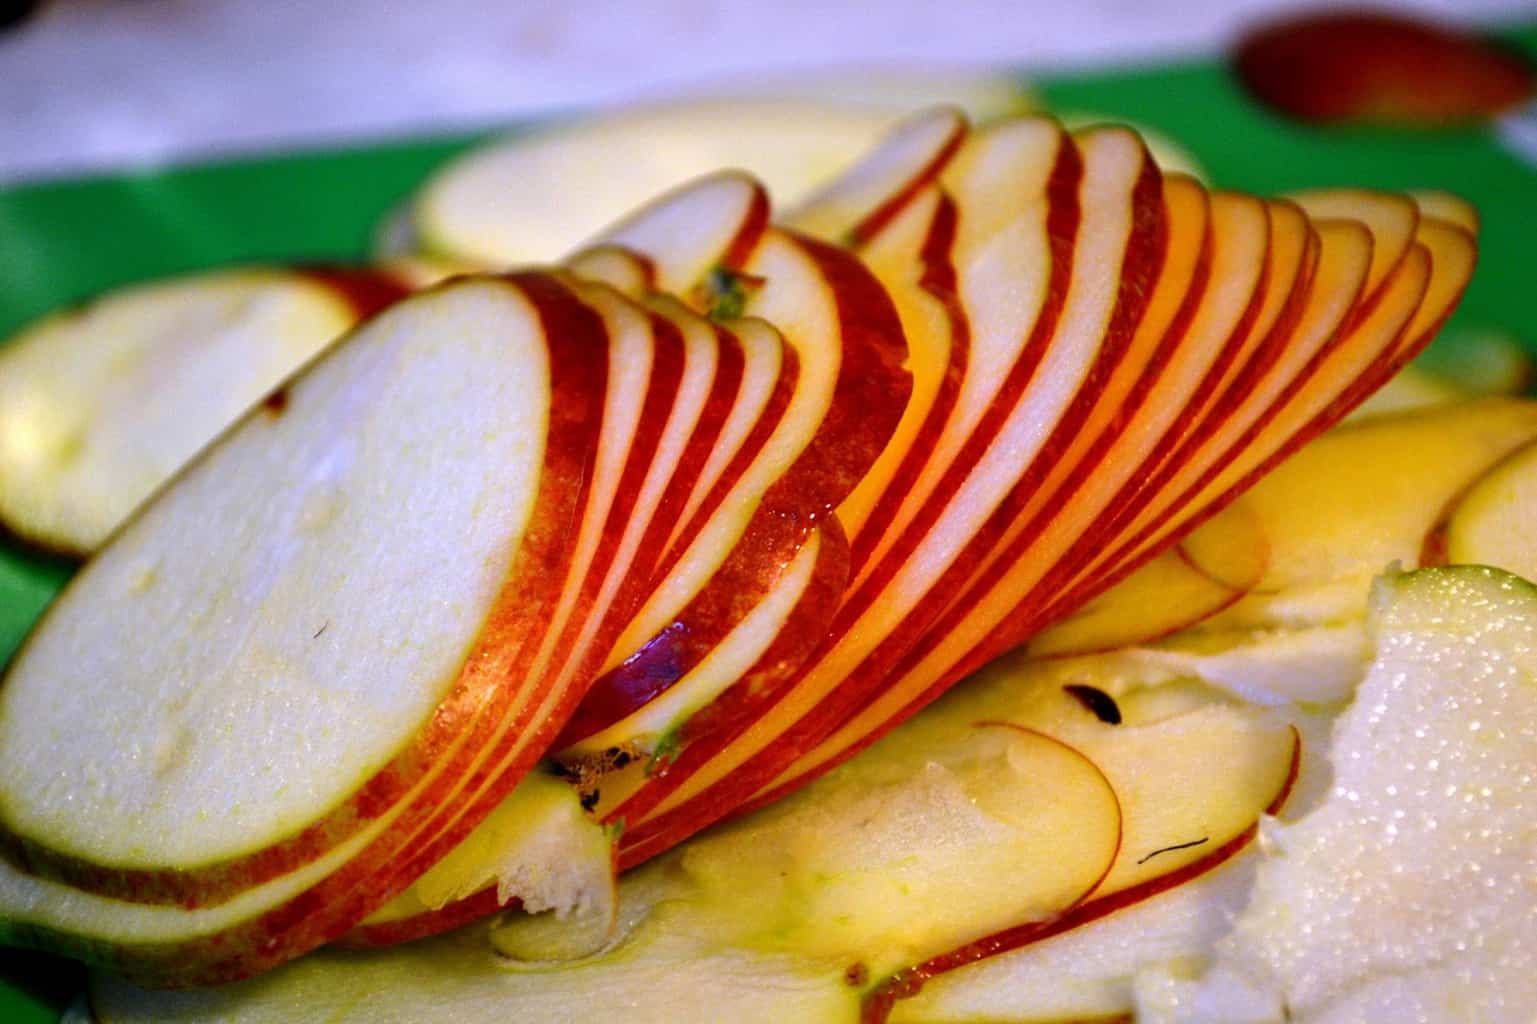
Slice up your apples so they’re wafer thin – skin and all. Slice right through the core, you can just remove any bits of pips or stalks after if they’re present.
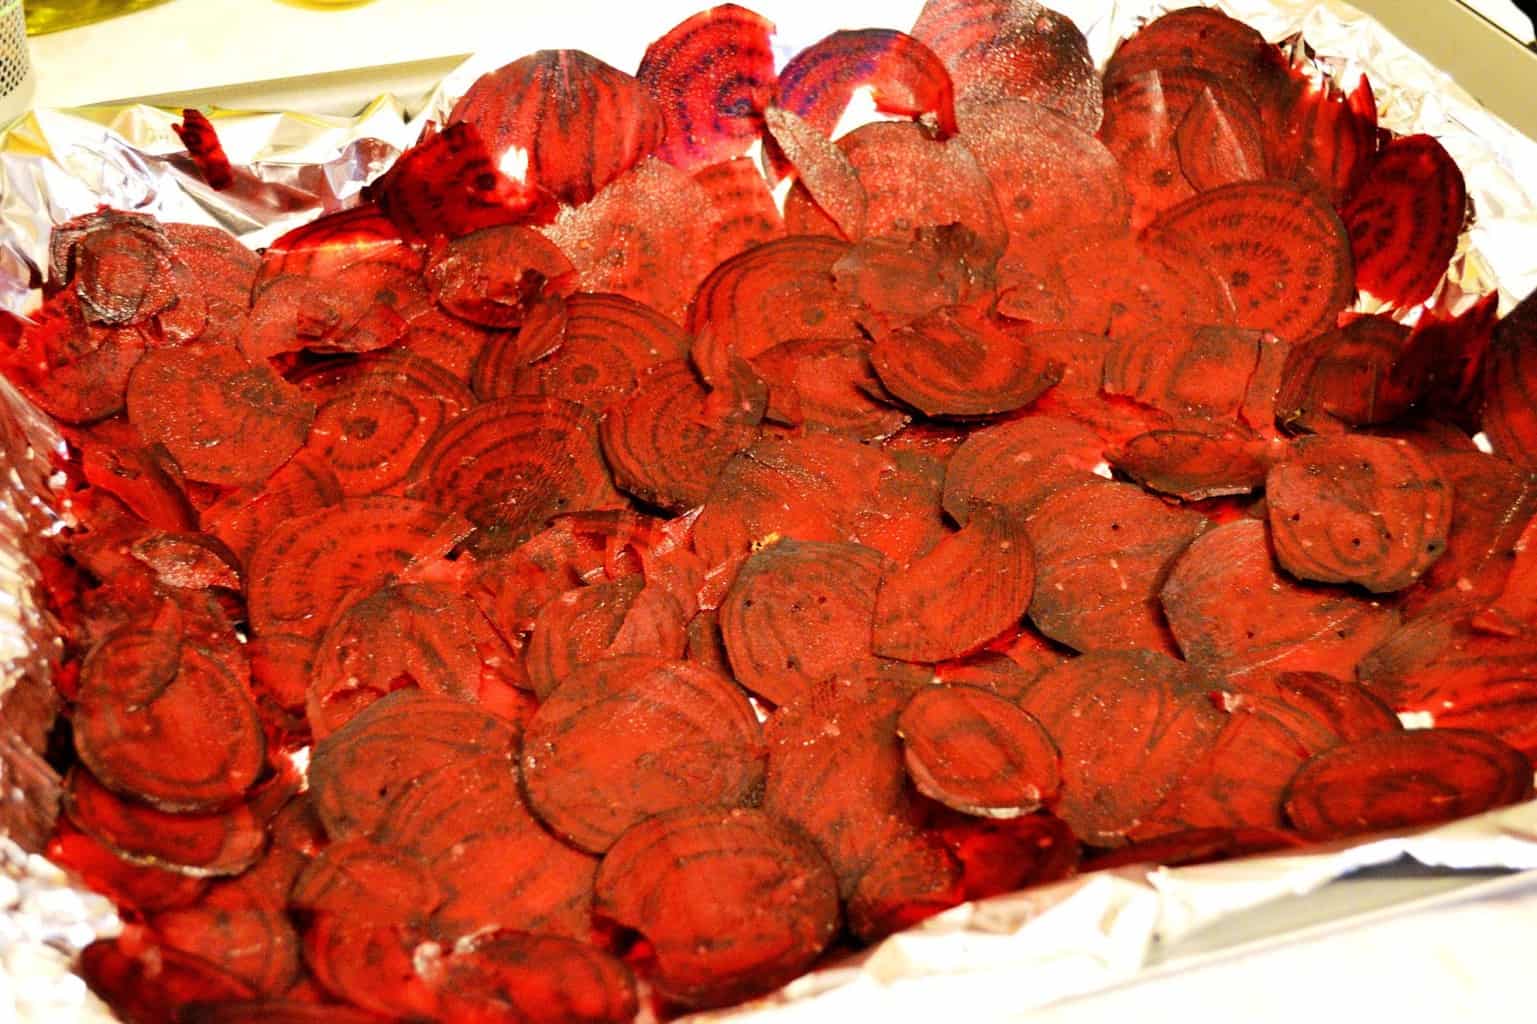
Peel your beetroot and then slice these the same way. Don’t forget you’ll get the colour everywhere, so do these last so as not to stain everything else.
Lay all the slices on oven dishes covered with foil – you can overlap them quite heavily as they will shrink considerably. The slices of around two apples will take up almost a whole tray, so really pack them in. You want to be able to fit at least three trays in your oven – I usually have two on shelves and one on the bottom of the oven.
Put the trays in, and give them a couple of hours. As the oven is so low, they’re not really cooking but are in fact getting dehydrated. All you will need to do is check them every 20 minutes or so – when you open the oven door you’ll be greeted with a face full of apple and beetroot steam, which is exactly what should happen.
When you do check them, shift them all around a bit so they don’t stick to each other and the foil. You’ll notice them shrinking, and then starting to go crispy. As the beetroot has less water content, they usually get done first. After 1.5-2hrs they will start to feel crispy – as they do remove them from the tray and transfer to an airtight container. The apples will be the last to crisp up.
If you’re not sure if they’re crispy yet, take the tray out of the oven – often a few seconds exposed to the cold air finishes off the crisping process.
This would work with any root veg and I plan to try them with sweet potato, parsnip, swede – but remember you want something that has a decent diameter or they’ll shrivel to nothing. So carrots are also suitable but get huge ones, cut them in half and slice them lengthways rather than across their diameter, so you get a bigger surface area.
I suspect that the lower the water content, the more likely they could burn. So if you do try the above mentioned veg, toss your slices in a very small amount of oil to give them a light coating. You can also season with salt and pepper at this stage if you wish.
In terms of fruit, pears are also excellent alongside the apples.
Keep them all in the container and consume a handful everyday – you’ve retained all of the fibre and nutrients and just removed the water. The perfect grazing snack.
Alfiyet olsun.

These look lovely, I like the colours of the beetroot, I was wondering if you’d like to enter this recipe into our Gourmandize Giveaway recipe competition. This month the theme is apples so it would be perfect, and there are nice prizes to win – let me know what you think:
http://www.gourmandize.co.uk/article-1-recipe-competition-for-the-best-apple-recipe.htm
Regards,
Laurence