Last Updated on June 7, 2021 by Leyla Kazim
I get a lot of satisfaction from making or creating things.
It’s part of the reason I enjoy cooking – the idea of concocting a dish
completely different from its component parts which on their own would be far
less exciting, is a big draw. Alongside the glaring fact that I
like to eat.
It’s also why I enjoy gardening, particularly fruit and
vegetables – the Spring-time ritual of applying an inanimate seed to some dirt,
adding water, giving it light and time and that resulting in the beautiful slow
motion animation of germination, growth, bud, bloom and the setting of fruit is
immensely gratifying. Not to mention the produce is quite handy for my first
point.
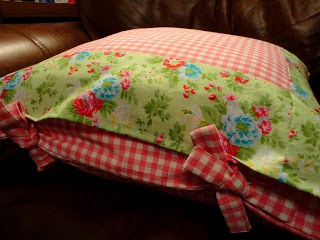
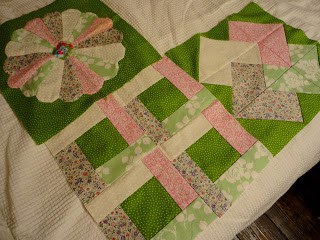
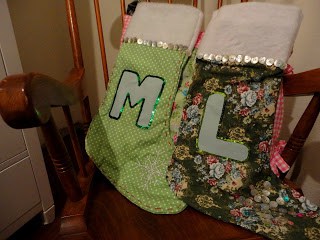
Then there are textiles and sewing. I can’t walk into a shop
and look at a cushion without giving it the once over and proudly exclaiming
‘£25?! I could make that myself’ (not always the case, alas).
And so I put my money where my mouth is, and I attempt soft furnishings.
I have so far been successful in making several cushion covers (one even from an
old unwanted cardigan); a pair of curtains for one window in the main bedroom
(lined, I might add) – the second window is still patiently waiting to be
dressed; personalised Christmas stockings for Matt and I; and I am about 9
patches into a kingsize patchwork quilt (that project is a labour of love).
Knowing I can make things very similar to those priced quite highly in the shops
just by trying it out and watching a few handy youtube videos, has a huge
satisfaction factor. Making things, being creative, working with
my hands – all activities that appeal to me.
And so I see Christmas as the green light to get out the
craft kit, get the apron on, and start cooking up some edible homemade gifts.
What’s particularly appealing about this is I can incorporate my love of cooking
with my penchant for craftiness in their packaging and decoration. These are
little stocking fillers to give to friends and colleagues on the last few days
at work before breaking up for the holidays, and to leave a little something
with family when squeezing in fleeting visits on Boxing Day.
The sneaky tip over into December marks the time to start on
the chutney. They need about 1 month to develop their flavour before being
consumed, so now is a good time to get them done and ticked off the list.
This is a recipe I’ve used for the past couple of years now and it goes down a treat.
Caramelised red onion chutney
This goes incredibly
well with strong cheeses and biscuits – get your fill in before ‘normal eating’
returns post festive period. Very simple to make.
Fills about 5
small-medium jars
Preparation
You
will need five small to medium glass jars with their metal lids. You can either
purchase kilner jars specifically, or if you happen to keep jars when you finish
with their contents, use those. Screw tops are preferable to flip tops as the
seal is stronger. The jars I used were smaller than jam jars – small caper jars,
jars with mustard, small honey jars etc.
These
jars will need to be sterilised and need to be filled when both the jars and the
chutney are still hot. You can either put them through a cycle in the
dishwasher and time it so that your chutney is ready once the cycle is
complete. Or you can put the jars (lids off) in an oven at 180C
for at least 20 minutes. The heat from both of these methods will kill of any
germs that could contaminate your delicious chutney contents. Hand washing them in hot water will not suffice for sterilisation, but be sure to do this anyway
once you’ve finished with their original contents.
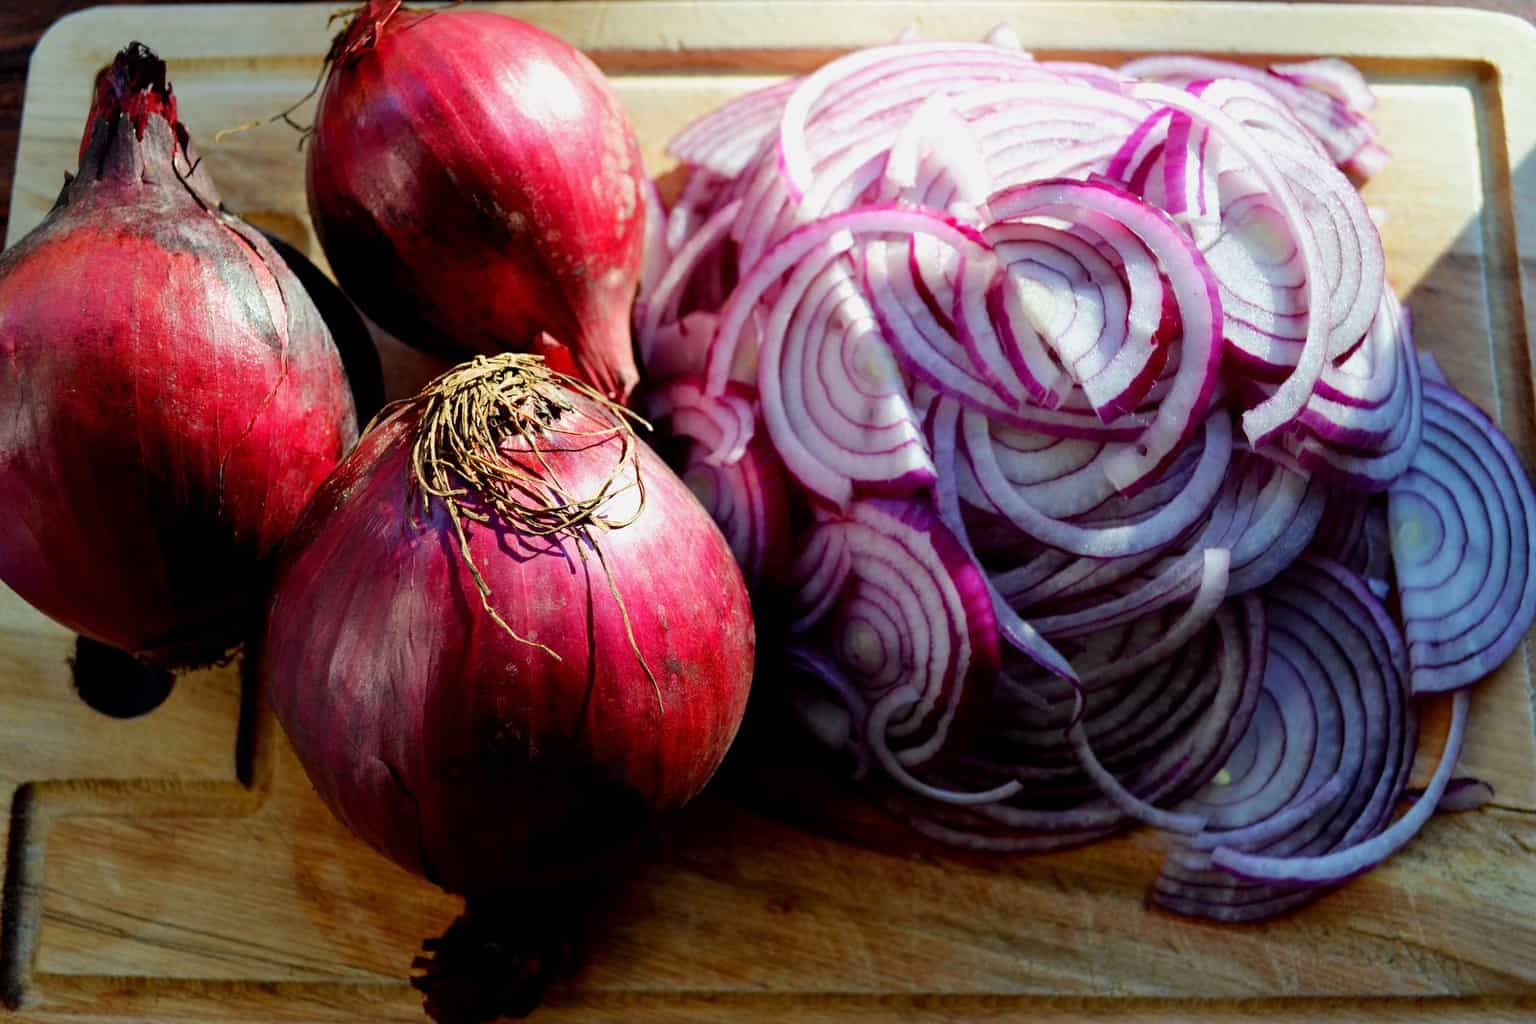
10
large red onions
1 large red
chilli
2 bay
leaves
Olive
oil
200g brown
sugar
150ml balsamic
vinegar
150ml red wine
vinegar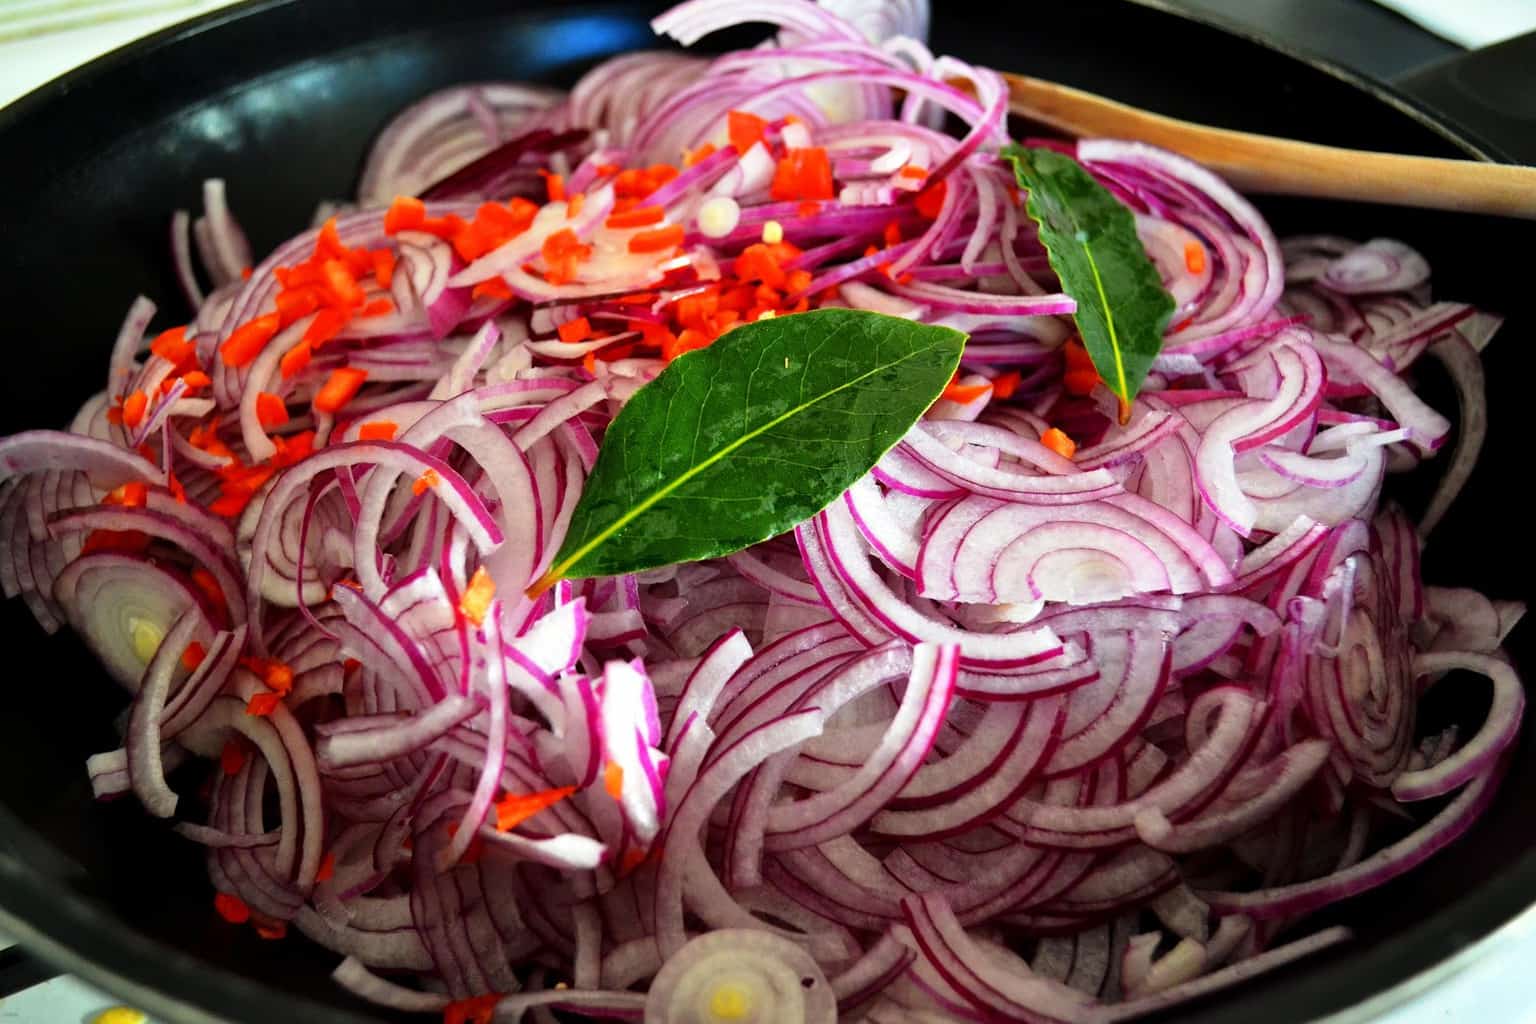 Slice your
onions very finely. You want to be sure you first slice off enough top and
enough of the root to get rid of any parts of the onion that are tougher.
Then remove two layers of the outer onion after the initial paper layer
(this is why you want large ones to begin with). It’s the
remainder that you want to slice up. Slice your chilli in half, remove the seeds, and chop the rest of it
finely.
Tip The
easiest and quickest way to slice this volume of onions with a consistent
thickness is with a v-slicer or mandoline slicer. This is the one I use – worth putting
on your Christmas wish list if you don’t already have one. It can of course be
sliced with a knife, it will just take a bit longer. If you are using a v-slicer or mandoline slicer, be sure to slice the onion in the holder in half with a knife first so the slices don’t come out as rings, otherwise they’ll be too long to spoon out of your jar.
Add your
onion, bay leaves and chilli to a large pan with some olive oil and cook over a
low heat with a lid on for a good 20-30 minutes, or until they soften and become
sticky and a bit stringy. Add a sprinkle of salt to help draw out the liquid. I find a wok is very useful for this as it holds a large volume and distributes the heat to more of
the onions than a large saucepan would.
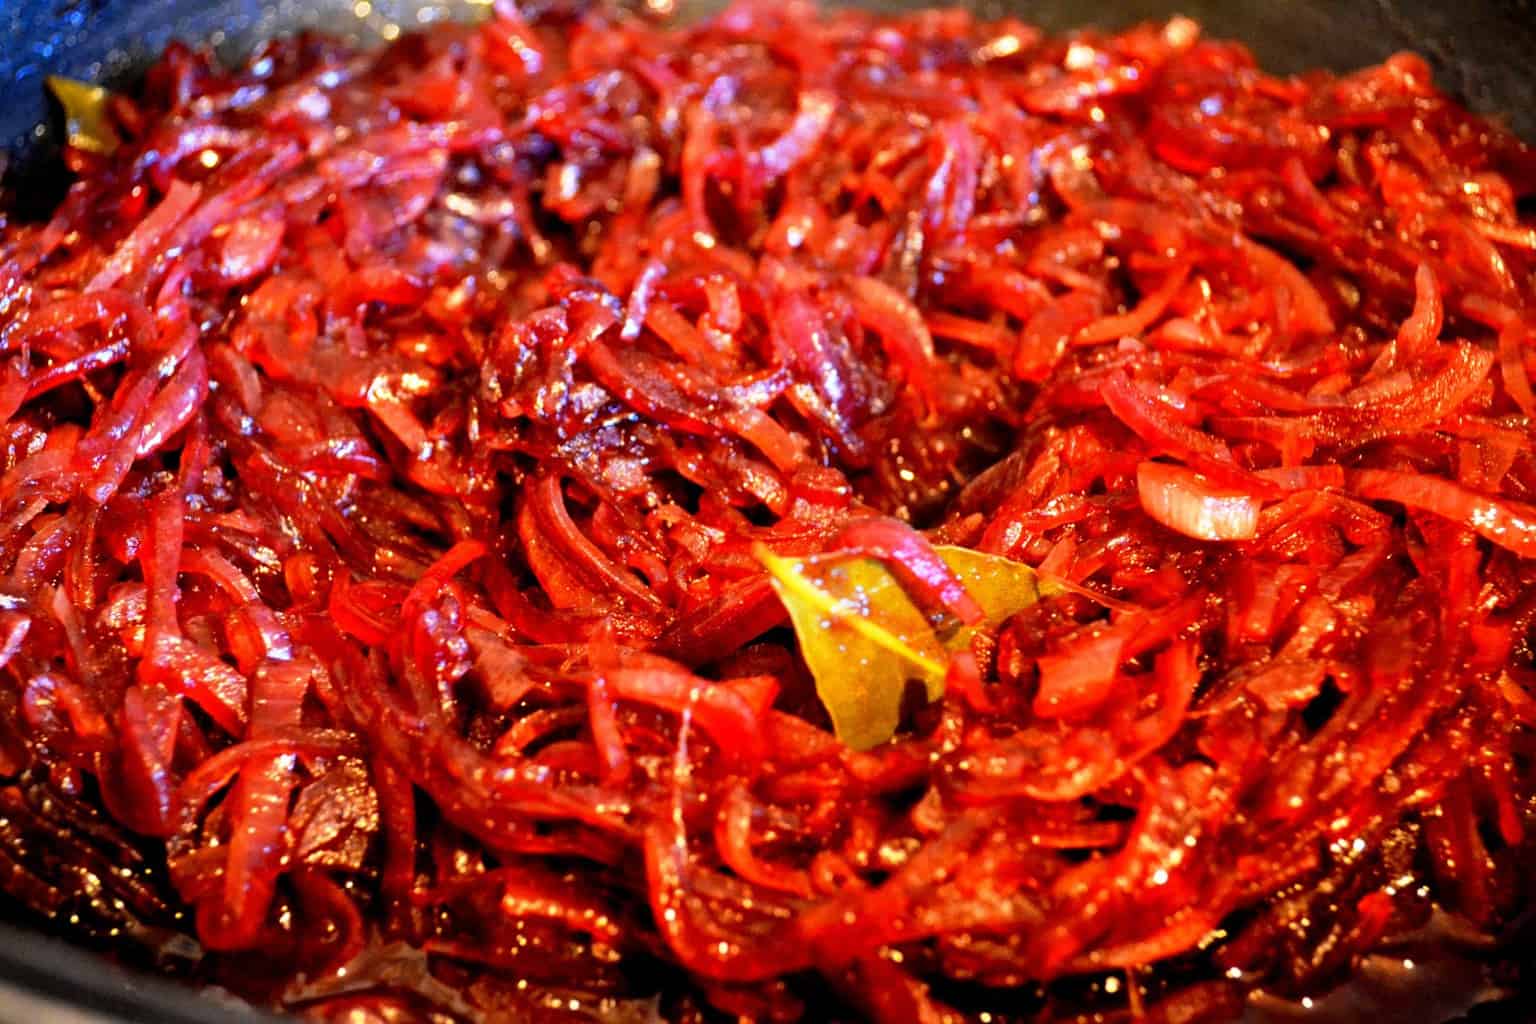 Once the
onions are soft and sticky, add the sugar and vinegars and simmer for 30 minutes
or so with the lid off, until almost all of the liquid has disappeared and the chutney
is thick and dark. Be sure to give it a stir now and again.
Pour the chutney into your hot, sterilised jars – try to not let any touch
the tops of the jar where the lid screws on. If you do, wipe with
clean kitchen paper. Push the contents down so any large air pockets are filled.
Put your lids on and allow to cool. After a while, push the pop
button of your lid in if it has one – it should stay down. This
happens because the air in the jars has contracted whilst cooling down. When the
lid is first opened after this, the button should pop indicating freshness as it would
have done with its original contents.
Keep your jars in a cool dark place for the chutney to develop their
flavours for at least a month before consuming.
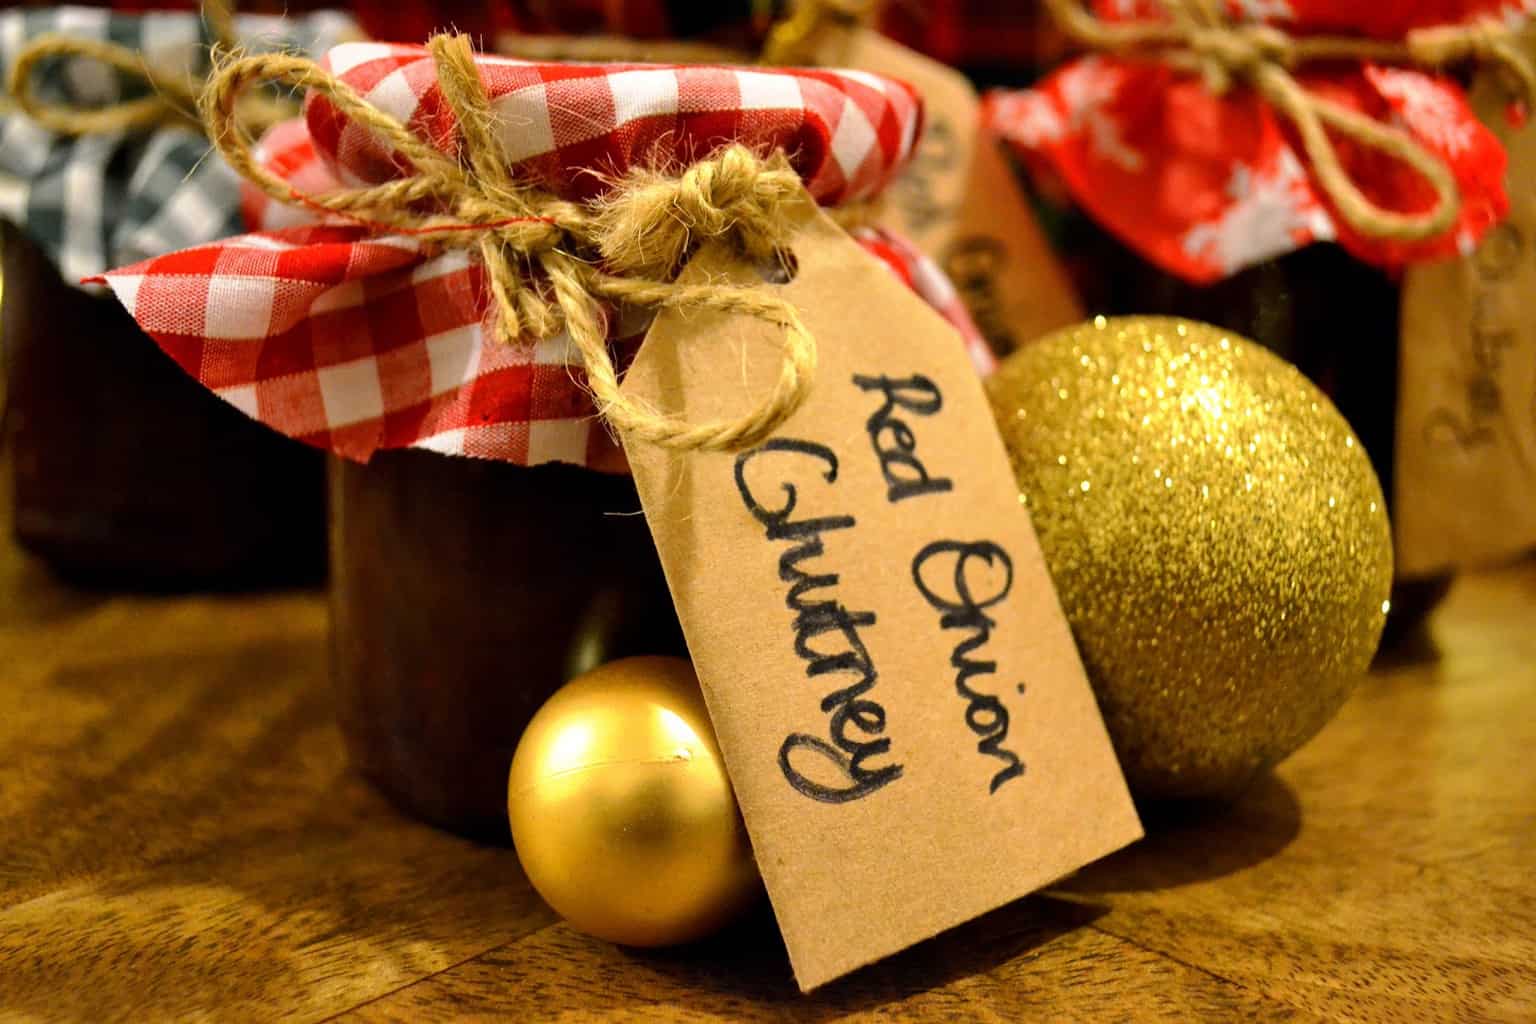
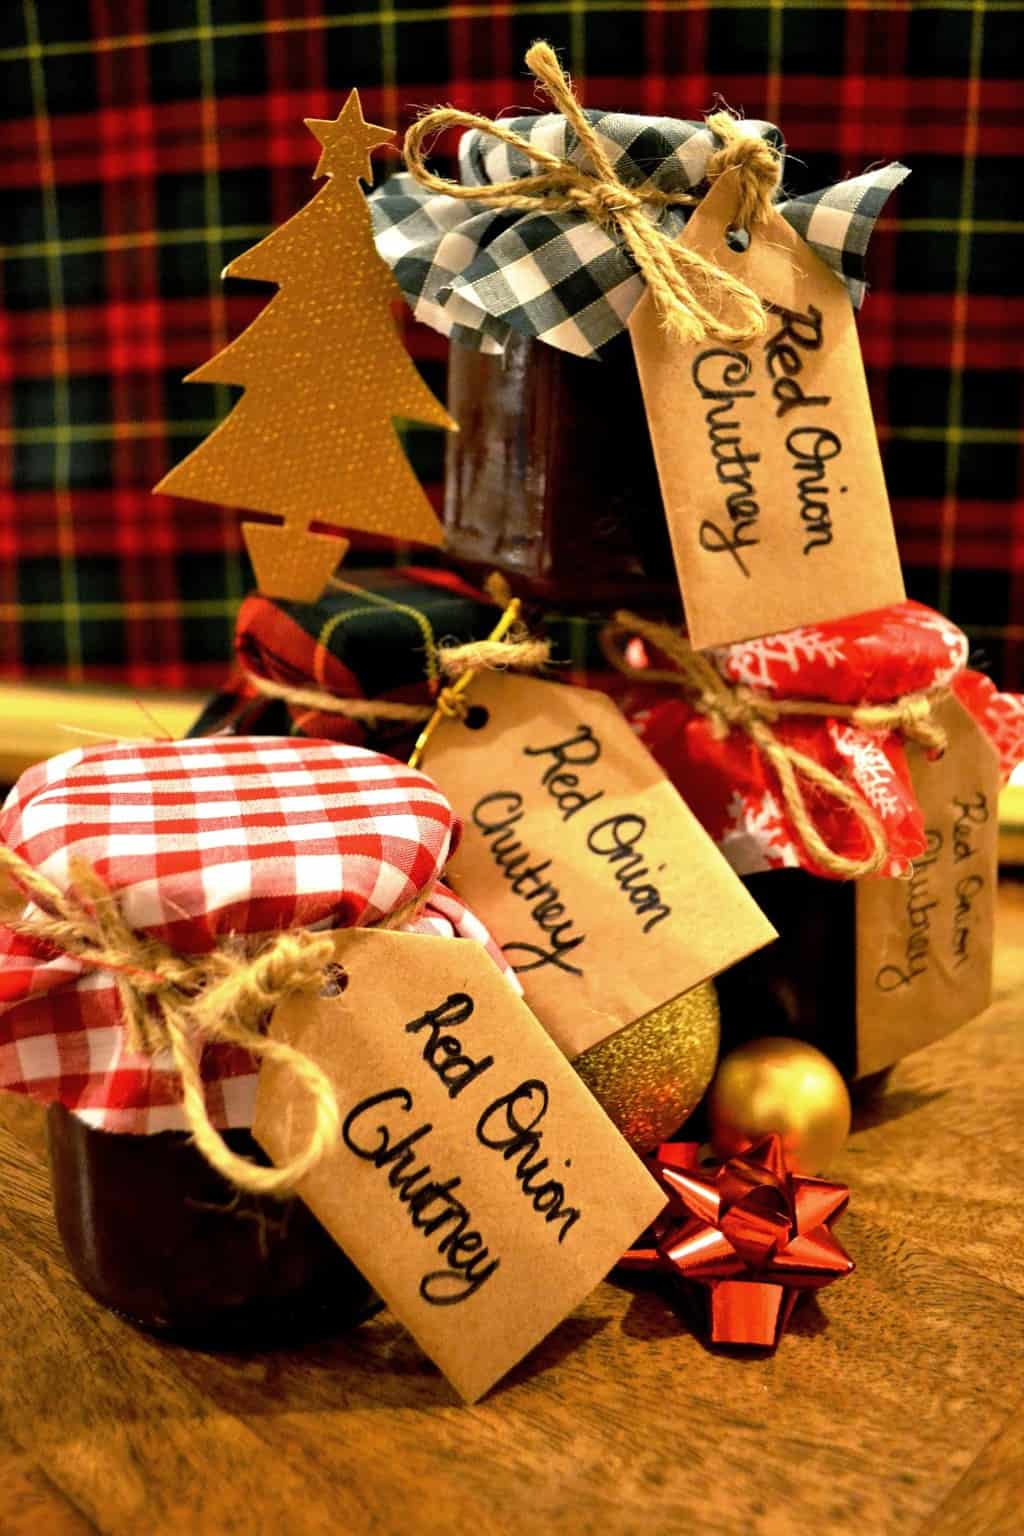
Et voila – my first set of Christmas stocking fillers
complete.
There is then the matter of decorating these little gifts. You can let your
creative juices run free here, using up any scrap bits of crafty stuff you might
have lying around. I plan furnish mine quite simply. I will top the jars with a square of material – I have
some red and green gingham along with some festive looking check left over from
last year.
They will be secured with basic brown jute string tied
around the neck of the jar, and from them needs to hang a label. I have a wad of
brown paper that I have saved from various packaging received in parcels
throughout the year (did I also mention I like to recycle and re-use?) and I’m
almost certain I can turn these into neat looking labels.
Turns out after a bit of origami style experimenting, some well concealed cellotape and a hole-punch, it’s actually fairly easy. If you’d
like to replicate, I’ve included the instructions below.
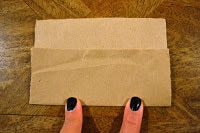
Take a rough square of your chosen paper and fold it about two thirds of the way up. The height you are left with will be the total length of your label.
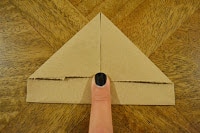
Fold the top two corners down to the centre until they meet.
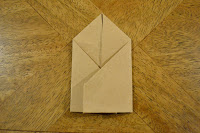
Fold the two edges in to create a label shape and secure with a bit of sticky tape folded over into a loop so it’s sticky on both sides – this way you can conceal the tape.
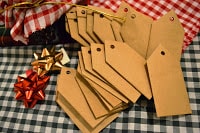 |
Turn it over and you have a label. Use a hole punch to create a hole for the string. Repeat for as many as you’ll need.
I hope these will go down a treat for the lucky folk receiving them.
Don’t forget to make an extra jar for yourself.
Alfiyet olsun.
